Foraged Berry Jam: A Step-by-Step Guide
Making foraged berry jam isn’t merely about preserving a sweet delight; it’s an adventure that connects you to nature and the joys of seasonal bounty.
This guide will walk you through the different types of berries to seek out and the best practices for selecting the ripest fruits. You ll also find essential techniques for cleaning and cooking, paired with a step-by-step process to craft the perfect jam.
Explore effective storage and preservation methods so you can relish your homemade creations long after berry season has passed. Get ready to enjoy the delicious flavors of your homemade jam!
Contents
- Key Takeaways:
- Benefits and Considerations
- Identifying and Selecting Berries
- Best Practices for Selection
- Preparing and Cooking the Berries
- Cleaning and Sorting Techniques
- Cooking Methods for Jam Making
- Creating the Perfect Jam
- Storing and Preserving the Jam
- Frequently Asked Questions
- What is foraged berry jam and why should I make it?
- What are the basic ingredients needed to make foraged berry jam?
- Can I use any type of berries to make foraged berry jam?
- Do I need any special equipment to make foraged berry jam?
- How long does foraged berry jam last and how do I store it?
- Can I make foraged berry jam without using pectin?
Key Takeaways:
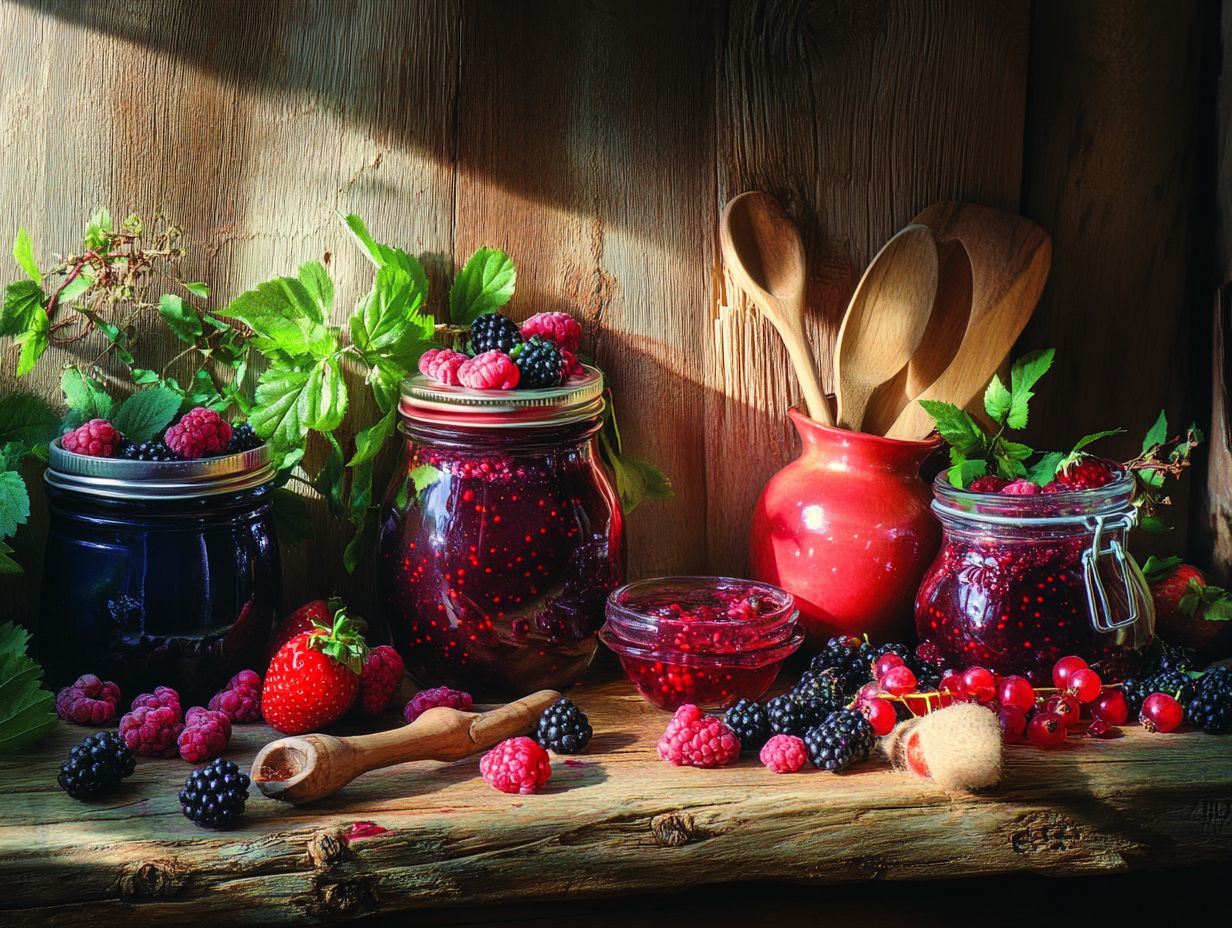
- Choose ripe, in-season berries for the best flavor and texture in your jam.
- Thoroughly clean and sort your berries before cooking.
- Follow a step-by-step process to create and preserve your jam.
Benefits and Considerations
Making homemade jam from foraged berries preserves the summer harvest and strengthens community bonds while supporting a sustainable lifestyle. The rewards of crafting your own preserves go beyond mere taste; the entire process engages your senses and cultivates a profound appreciation for nature’s bounty.
Whether you’re gathering juneberries, raspberries, or black currants, gathering fresh ingredients lets you craft delightful jams that will tickle your taste buds with their rich, complex flavor and velvety texture. However, it s crucial to consider some important factors when canning the process of preserving food in jars and storing your homemade treasures.
Identifying and Selecting Berries
Identifying and selecting the right berries for your homemade jam is crucial for elevating both the flavor and quality of your preserves. This step is essential in the canning process.
Whether you’re a forager or a gardener, you ll find yourself captivated by a variety of seasonal fruits like juneberries, raspberries, and gooseberries. By understanding the unique characteristics of these berries such as their sweetness and texture you can make informed choices that lead to a truly delightful jam.
Familiarizing yourself with the best practices for picking ensures a successful harvest, whether you’re foraging in the wild or nurturing your community garden.
Types of Berries to Look For
When you’re diving into the art of making jam, the type of berries you select can significantly shape the final flavor and texture of your creation. Understanding which varieties to seek out is essential.
Consider popular choices like tart sour cherries, sweet raspberries, and juicy blackberries. Each berry contributes its own distinct characteristics, inviting you to explore creative combinations that can truly elevate your preserves. For instance, blending the delicate sweetness of blueberries with the tartness of gooseberries can yield a delightful jam that encapsulates the essence of summer.
Think about pairing the vibrant acidity of strawberries with the richness of elderberries, resulting in a well-balanced jam that dances on your taste buds. The smooth texture of cranberries can beautifully complement the explosion of flavor from huckleberries, balancing sweetness and tartness in perfect harmony.
Feel free to venture into unexpected pairings, such as hybrid varieties, or even incorporate herbs like mint or basil alongside the berries. This playful approach to jam-making allows you to craft unique flavors that reflect your personal touch and creativity.
Best Practices for Selection
Selecting the best berries for your jam is more than just picking the ripest fruit. It s about embracing the best practices that guarantee a successful harvest and a delectable final product.
When berry-picking season arrives, pay close attention to ripe fruit. Look for vibrant colors and plump shapes, while avoiding any blemishes or bruising that could affect taste and preservation. Understanding the seasonal harvest times for various berries will enhance your picking strategy. For example, strawberries hit their peak in late spring, whereas blueberries and raspberries shine during the summer months.
Sourcing your berries from trustworthy farms or local markets not only ensures superior quality but also supports sustainable practices. This thoughtful approach provides you with the finest produce, ideal for crafting rich, flavorful jam that captures the essence of summer in every jar.
Preparing and Cooking the Berries
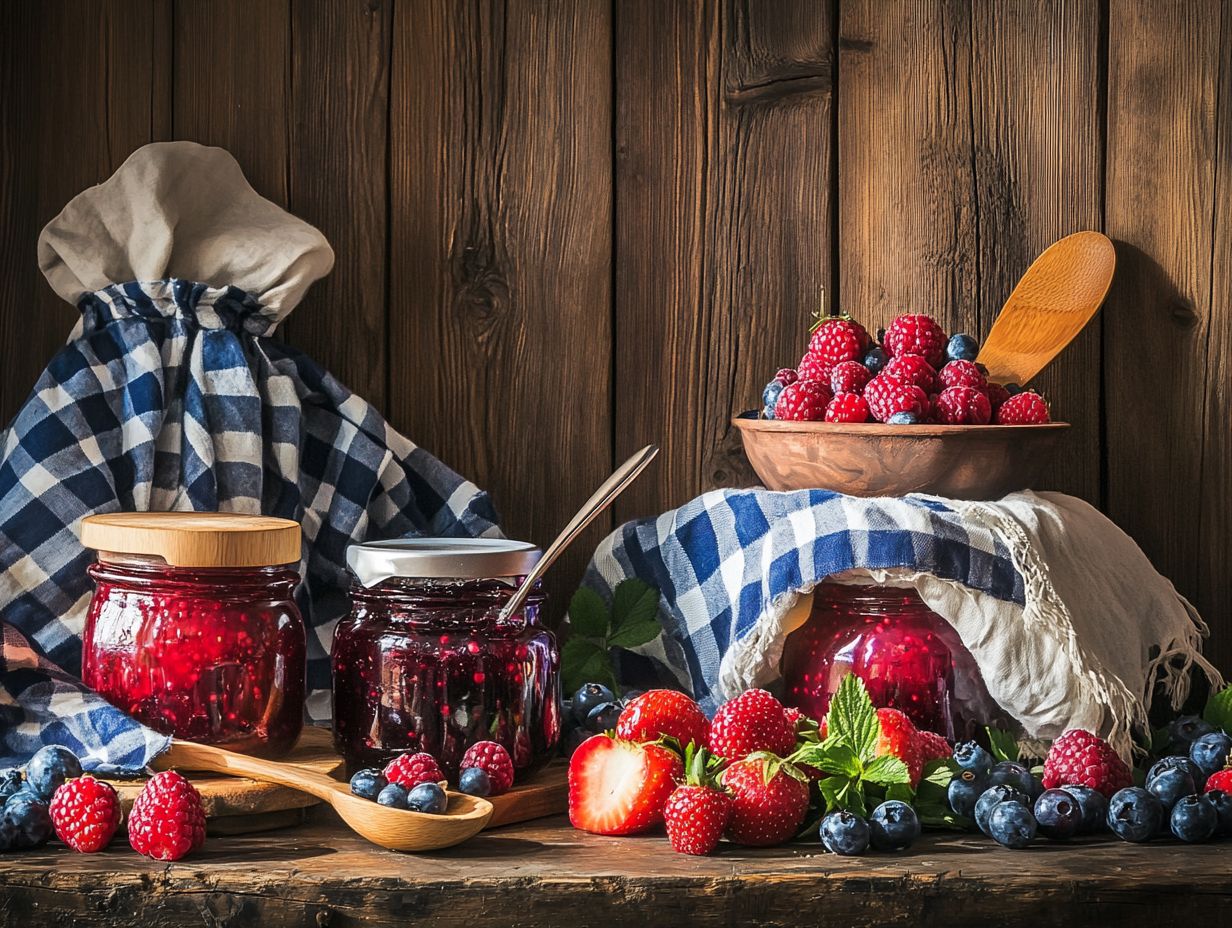
Preparing and cooking the berries for your homemade jam is a key step in achieving a harmonious blend of flavors. This results in a preserve that is both delicious and inviting.
Start by cleaning and sorting the berries, ensuring only the best fruits make it into your pot. Once cleaned, combine the berries with ingredients like sugar and lemon to enhance their natural flavors.
Utilizing the right technique preserves the berries taste and enhances the overall texture of the jam, transforming it into a delightful addition to your pantry.
Cleaning and Sorting Techniques
Good cleaning and sorting make a big difference when you’re preparing berries for jam. Begin by rinsing the berries under cool water to remove dirt and residues. Handle delicate fruits like raspberries and blackberries with care to avoid bruising.
After rinsing, sort through the berries to discard any under-ripe or damaged ones. This meticulous attention to detail will ultimately enhance the quality of your finished product.
When dealing with strawberries, gently twist to remove the green hull while preserving their shape. After rinsing, lay the fruits on a clean kitchen towel to dry, as excess moisture can lead to fermentation.
By following these techniques, you ensure that the natural flavor and integrity of the berries truly shine through in your jam.
Cooking Methods for Jam Making
Choosing the right cooking methods for making jam can elevate your berries into a delightful preserve that captures the essence of summer in every jar.
When you opt for the stovetop method, stir carefully to avoid burning. This allows for a rapid boil essential for activating the pectin, a natural thickening agent found in fruits, needed for perfect thickness. You can also choose the slow cooker approach for a gentler method, permitting a gentle simmer that enhances flavor depth without the risk of burning.
It s vital to measure your ingredients precisely. Too much sugar can lead to an overly sweet jam, while too little may compromise the texture. Your attention to timing during the cooking process is equally important; striking the right balance can turn simple preserves into a gourmet delight.
Creating the Perfect Jam
Crafting the perfect jam is both an art and a science. It demands careful attention to detail at every stage to ensure the flavors meld seamlessly.
Begin by gathering your ingredients ripe berries, sugar, and fresh lemon juice each playing a crucial role in elevating the jam’s natural flavor. Follow a step-by-step recipe to strike the perfect balance of sweetness and acidity, while keeping a close eye on the cooking time to achieve that ideal thickness.
The true magic lies in harmonizing your ingredients and techniques to create a delightful preserve that will tantalize your taste buds. Don t miss out on the delicious flavors of summer!
Step-by-Step Jam Making Process
Understanding the step-by-step process of making jam is essential for anyone looking to craft their own delicious homemade preserves. This foundational knowledge sets you up for a successful final product.
Once you ve gathered your ingredients and they re in the pot, bring the mixture to a gentle boil, stirring frequently to keep everything from sticking. This is when the natural juices from the berries begin to mingle with the sugar and lemon, creating the base for your jam.
As you cook, pay attention to the size and consistency of the bubbles; they ll start to change, signaling that your jam is thickening nicely. To achieve that perfect texture, try the plate test: place a spoonful on a chilled plate and run your finger through it. If it holds its shape, you re almost there.
Once your jam is just right, pour it into jars while it s hot for the best flavor! Seal them tightly and let them cool. Soon, you ll have a delightful treat that can be savored for months to come.
Storing and Preserving the Jam
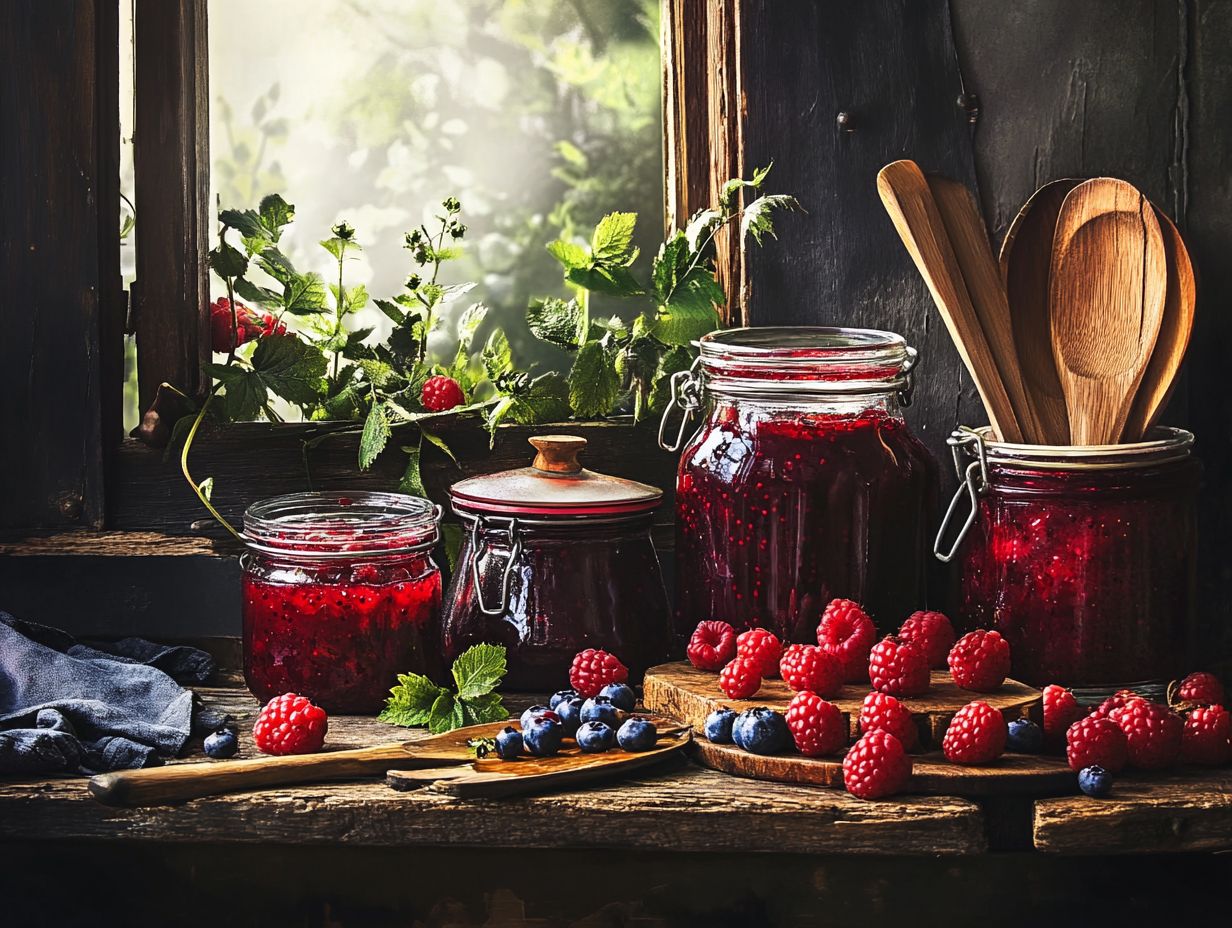
Storing and preserving your homemade jam properly is crucial for maintaining its great taste and quality over time. This allows you to relish the fruits of your labor well beyond the harvest season.
Using sterilized jars for canning locks in freshness while safeguarding against contamination. Familiarizing yourself with various storage methods, such as refrigeration and freezing, significantly extends the shelf life of your jam. You can delight in its deliciousness for months.
By implementing these fun storage techniques, you ll be enjoying your homemade jam all year round!
Proper Storage Methods
Implementing proper storage methods is essential for ensuring that your homemade jam remains fresh and flavorful for as long as possible. After you ve expertly canned your jam in sterilized jars, it s crucial to store them in a cool, dark place to shield them from light and temperature fluctuations.
Consider using a pantry or a basement. These locations generally maintain a more consistent temperature. For jars that have been opened, refrigeration becomes imperative. Ideally, you should keep them tightly sealed to minimize exposure to air, which can compromise quality.
Stay vigilant for signs of spoilage, such as unusual odors, changes in texture, or mold formation. If you detect an off smell or notice discoloration, it s wise to err on the side of caution and discard the jam.
Master these storage techniques, and you can relish that delightful summer fruit goodness long after the harvest has passed.
Long-Term Preservation Techniques
Long-term preservation techniques are your secret weapon for making your jam last longer. This allows you to relish its delightful flavor well into the off-season. Canning stands out as one of the most effective methods. The sterilization of jars is crucial in preventing spoilage and maintaining freshness.
By adhering to best practices for sealing and processing, you can create preserves that last for months or even years without sacrificing that incredible taste. This know-how gives you the power to enjoy your seasonal bounty long after the harvest has wrapped up.
Vacuum sealing also helps your jam last longer. This process effectively removes excess air, which can lead to oxidation and spoilage, ensuring that your flavors remain vibrant and captivating.
While canning is often the go-to choice, freezing is also a stellar alternative for preserving the texture and taste of fruits. When opting for freezing, remember to use airtight containers or freezer bags to avoid the dreaded freezer burn.
Don’t forget to label your jars with dates and contents. It helps you track freshness and simplifies meal planning. Mastering these techniques can elevate your kitchen produce into delectable treats, ready to satisfy your cravings whenever they strike.
Frequently Asked Questions
Have questions? Here are some common ones about foraged berry jam!
What is foraged berry jam and why should I make it?
Foraged berry jam is a delicious preserve made from wild berries found in nature. It’s a great way to enjoy the freshness of these berries, and learning foraging techniques for local berries is also a sustainable option compared to store-bought jam.
What are the basic ingredients needed to make foraged berry jam?
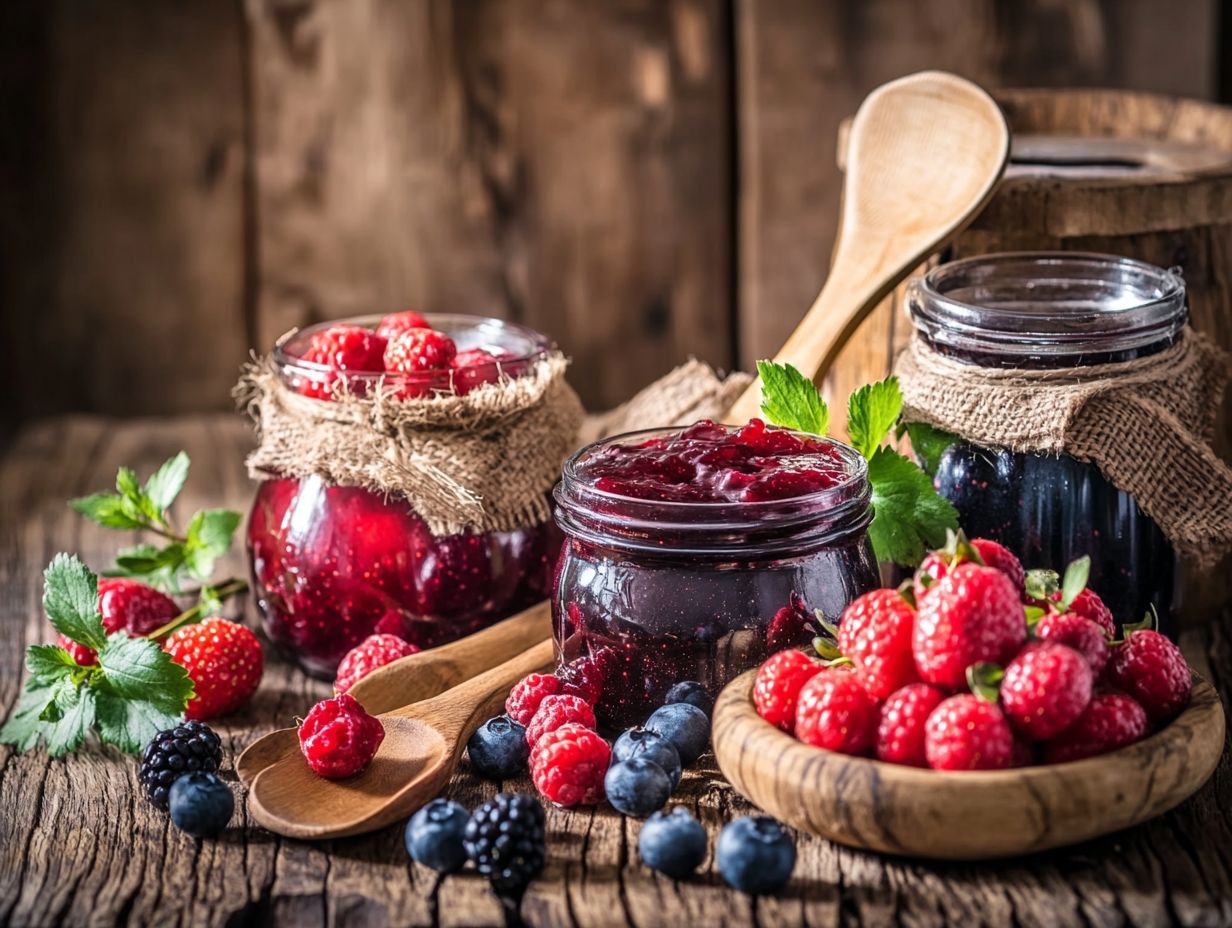
The basic ingredients for foraged berry jam are fresh berries, sugar, lemon juice, and pectin. You can also add spices like cinnamon or vanilla for extra flavor.
Can I use any type of berries to make foraged berry jam?
A variety of berries works well, including blackberries, raspberries, strawberries, and blueberries. Just ensure they are fresh and ripe.
Do I need any special equipment to make foraged berry jam?
Basic kitchen tools are all you need: a saucepan, wooden spoon, canning jars, and a water bath canner for storing your jam. A kitchen thermometer helps with accurate temperature readings.
How long does foraged berry jam last and how do I store it?
If stored correctly, foraged berry jam can last up to a year in a cool, dry place. Once opened, keep it in the refrigerator for a few weeks.
Use clean, sterilized jars to keep your jam fresh and delicious!
Can I make foraged berry jam without using pectin?
You can make jam without pectin by using fruits high in pectin, like apples, or by adding lemon juice to aid the gelling process. However, using pectin results in a thicker and easier-to-spread jam.

